Troubleshooting Milk Steaming Issues: A Detailed Guide
Steaming milk to perfection is essential for creating a rich, creamy texture that complements espresso drinks like lattes, cappuccinos, and macchiatos. However, achieving the right milk texture can be tricky, and various issues can arise during the steaming process. In this article, we will troubleshoot common milk steaming problems, outline their causes, and provide actionable solutions.
1. Common Milk Steaming Issues
Steaming milk requires attention to temperature, aeration, and emulsification. Below is a table summarizing the most common milk steaming issues, their potential causes, and corresponding solutions.
| Issue | Possible Cause | Solution |
|---|---|---|
| Milk too foamy (large bubbles) | - Steam wand too close to the milk surface. - Over-aeration (too much air introduced). |
- Submerge the steam wand slightly deeper after the first few seconds of steaming. - Avoid over-stretching during the aeration phase. |
| No foam (flat milk) | - Steam wand too deep in the milk from the start. - Not enough air introduced during the aeration phase. - Milk not fresh. |
- Raise the steam wand slightly to introduce air for the first 3-5 seconds. - Use fresh, cold milk. |
| Milk is too hot (burnt taste) | - Over-steaming. - Not monitoring milk temperature. - Steam wand too deep for too long. |
- Stop steaming once the milk reaches 150°F (65°C). - Use a thermometer or rely on the "too hot to touch" rule for hands. |
| Milk not hot enough | - Stopped steaming too early. - Steam wand wasn’t fully submerged. |
- Continue steaming until the milk reaches 150°F-155°F (65°C-68°C). - Ensure the wand is submerged in the milk for proper heating. |
| Milk texture is too thin | - Not enough aeration. - Milk too warm before steaming. - Overheating milk reduces texture and sweetness. |
- Introduce more air during the first few seconds by raising the wand slightly. - Use cold milk, and stop steaming at the ideal temperature. |
| Milk has large, visible bubbles | - Improper positioning of the steam wand. - Wand not angled correctly to create a vortex. - Over-stretching. |
- Position the steam wand at a slight angle, just below the surface to create a vortex. - Tap and swirl the milk pitcher after steaming. |
| Steamed milk is watery | - Using skim or low-fat milk. - Insufficient aeration. - Milk may be overheated or stale. |
- Use whole milk for creamier texture. - Ensure enough air is introduced during the stretching phase. - Always use fresh, cold milk. |
| Milk separates (foam on top, liquid underneath) | - Poor emulsification. - Overheating the milk. - Over-aeration during steaming. |
- Ensure proper aeration and emulsification by creating a vortex. - Stop steaming at the right temperature to avoid separating the proteins. |
2. Understanding the Phases of Milk Steaming
Milk steaming consists of two primary phases: aeration and emulsification (texturing). Understanding each phase can help you identify where problems occur and how to fix them.
| Phase | Process | What to Watch For |
|---|---|---|
| Aeration (Stretching) | The initial phase when air is introduced into the milk. This happens in the first 3-5 seconds of steaming. | - A gentle hissing sound (not screeching). - Slight expansion of the milk in the pitcher. - No large, visible bubbles. |
| Emulsification (Texturing) | After aeration, the steam wand is positioned deeper into the milk to heat it and distribute microfoam evenly. | - Smooth whirlpool motion in the milk. - A silky, velvety texture forming. - Temperature reaching 150°F (65°C). |
3. Specific Milk Steaming Issues and Their Causes
1. Milk is Too Foamy (Large Bubbles)
This is a common issue when the milk ends up with large bubbles and too much foam, resulting in a cappuccino-style texture rather than the silky microfoam required for a latte.
| Cause | Solution |
|---|---|
| - Steam wand is too close to the milk surface, allowing too much air to enter. | - Submerge the steam wand slightly after the first 3-5 seconds. |
| - Over-stretching: too much air introduced during aeration phase. | - Reduce the time spent aerating the milk. The stretching phase should only last a few seconds. |
| - Inconsistent vortex in the milk prevents smooth foam formation. | - Position the steam wand at a slight angle to create a swirling vortex in the pitcher. |
2. Milk is Flat (No Foam)
When there is no foam at all, the milk will taste watery and lack the rich texture that defines well-steamed milk.
| Cause | Solution |
|---|---|
| - Steam wand placed too deep in the milk from the beginning, preventing air from entering. | - Start with the steam wand just below the surface of the milk and raise it slightly to introduce air. |
| - Under-aeration: not enough air introduced into the milk during stretching. | - Aerate for a full 3-5 seconds until you feel the milk slightly expand in the pitcher. |
| - Using warm or stale milk, which doesn’t foam well. | - Always start with cold, fresh milk. |
3. Burnt or Scalded Milk (Milk Too Hot)
Burnt milk tastes bitter and ruins the texture. Once milk is heated beyond 160°F (71°C), it starts to denature, and the proteins break down, leading to poor texture and flavor.
| Cause | Solution |
|---|---|
| - Over-steaming the milk past the ideal temperature. | - Use a milk thermometer or the "too hot to touch" rule to stop steaming at 150°F (65°C). |
| - Not paying attention to the temperature of the milk during steaming. | - Feel the outside of the pitcher; when it becomes too hot to touch, the milk is at the ideal temperature. |
| - Steam wand fully submerged during the entire process, overheating the milk. | - Submerge the wand for texturing, but stop steaming as soon as the milk reaches the target temperature. |
4. Milk Steaming Best Practices
To consistently produce great steamed milk, here are some best practices that professional baristas follow:
| Best Practice | Why It Matters |
|---|---|
| Start with cold, fresh milk | Cold milk allows more control during steaming and improves texture. Fresh milk has better foaming properties than stale milk. |
| Use a thermometer or the hand touch method | Stopping steaming at the right temperature (around 150°F) ensures the milk is sweet and well-textured without burning. |
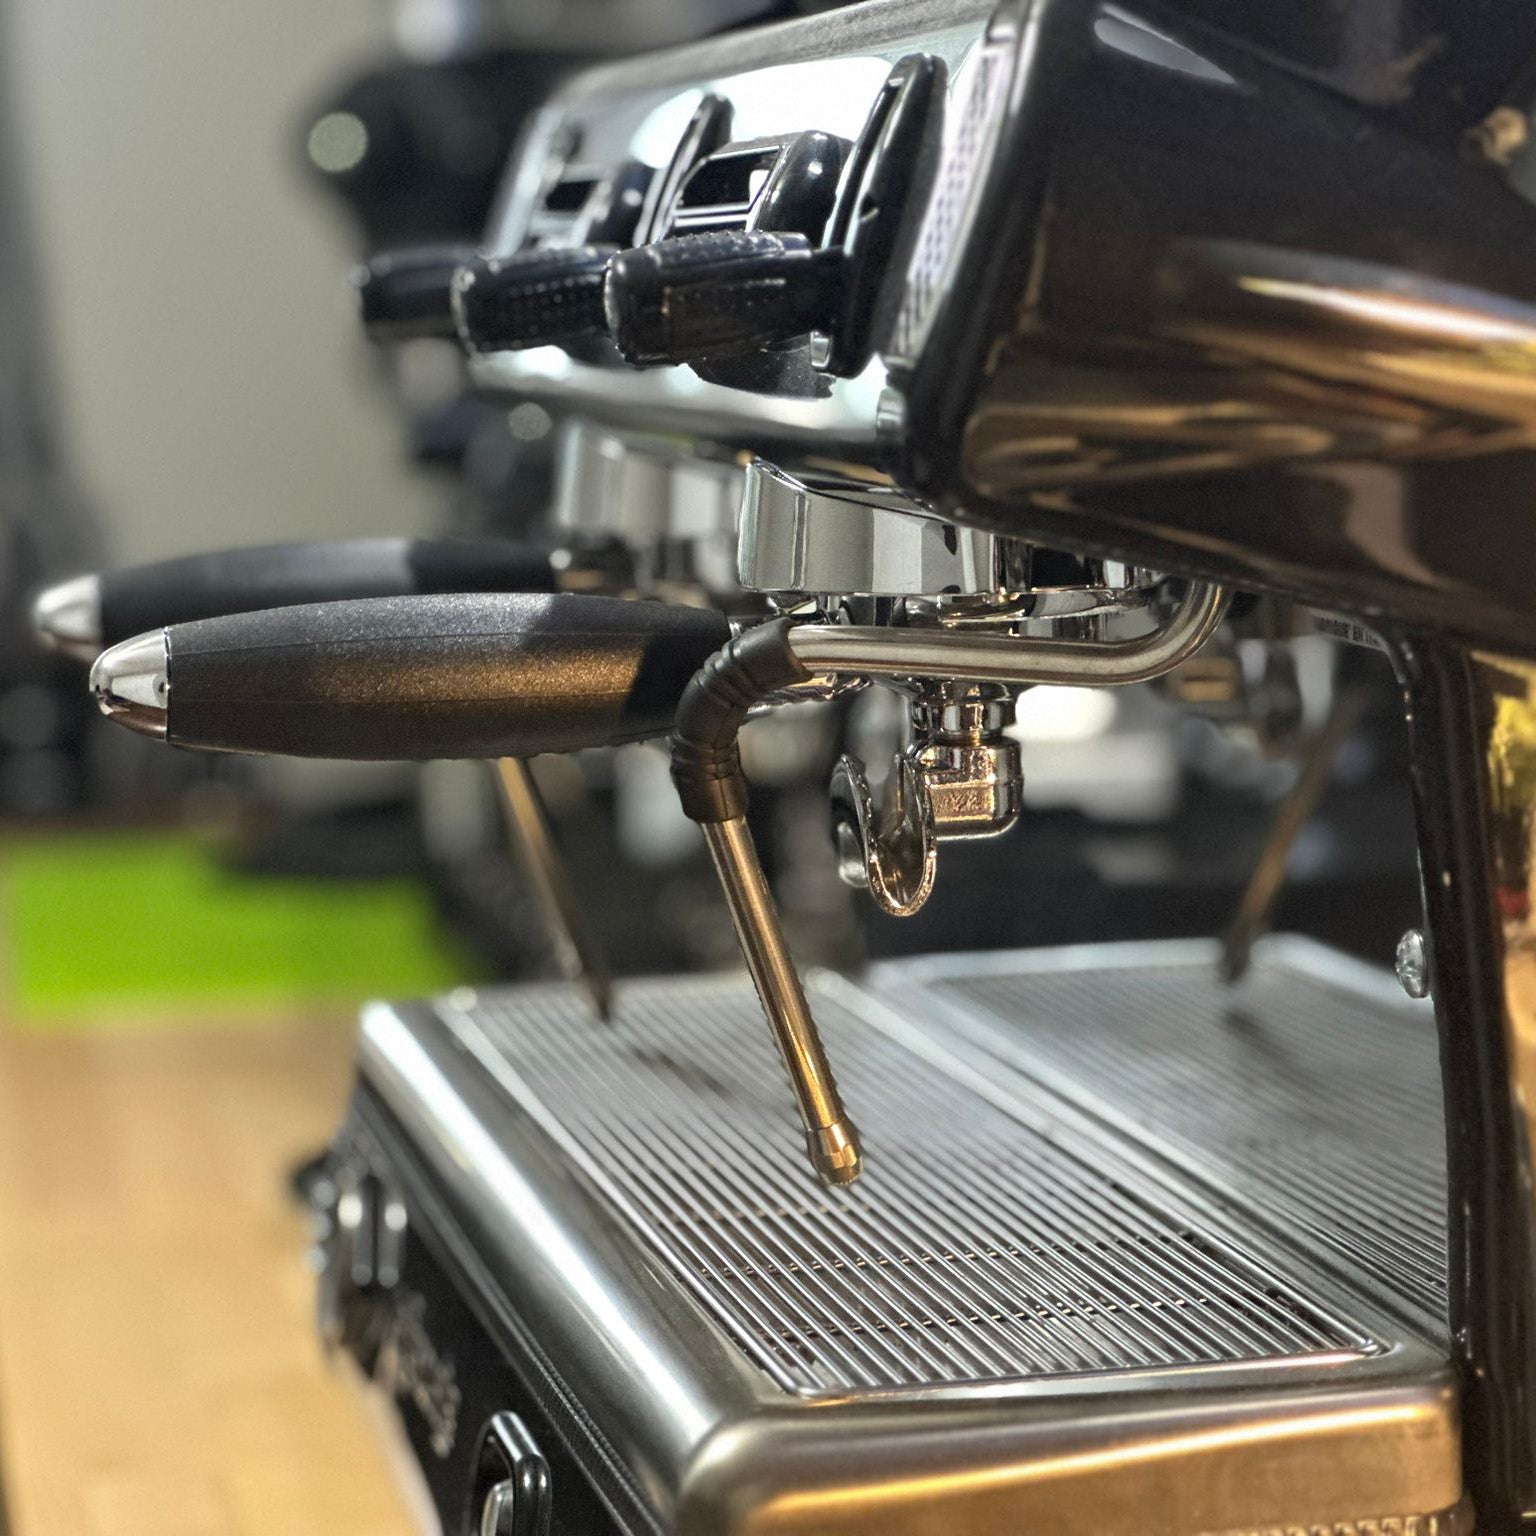
| Position the steam wand just below the surface at a slight angle | This allows for proper aeration and creates the whirlpool effect necessary for smooth, consistent foam. |
| Tap and swirl the milk pitcher after steaming | Tapping breaks large bubbles, while swirling integrates microfoam into the milk, ensuring a smooth, creamy texture. |
| Practice consistent tamping and extraction with your espresso | Well-steamed milk complements properly extracted espresso, ensuring the balance between coffee and milk in drinks like lattes. |
5. The Role of Different Types of Milk
The type of milk you use greatly affects how it steams and the texture it produces. Here’s a comparison of different types of milk and their behavior during steaming.
| Type of Milk | Fat Content | Foam Quality | Best Uses |
|---|---|---|---|
| Whole Milk | 3.25% fat | Creamy, rich, velvety foam | Best for lattes and cappuccinos due to its full-bodied texture. |
| 2% Milk | 2% fat | Lighter, less creamy than whole milk | Suitable for those who prefer a lighter texture but still want creamy foam. |
| Skim Milk | 0% fat | Frothier, more voluminous foam | Best for cappuccinos, produces a lighter foam but lacks creaminess. |
| Oat Milk | Varies (2-4% depending on brand) | Creamy, with good froth | Great for lattes and flat whites, one of the best non-dairy alternatives. |
| Almond Milk | Varies (1-2%) | Less stable foam, separates easily | Can be used for foam but tends to be less stable; good for those who avoid dairy. |
| Soy Milk | Varies (2-3%) | Can produce good foam, but less creamy | Suitable for lattes, but prone to curdling if overheated. |
Conclusion
Perfecting the art of milk steaming takes practice, attention to detail, and understanding the characteristics of different types of milk. By identifying and addressing common steaming issues—such as large bubbles, flat milk, or burnt flavors—you can achieve consistently creamy, velvety milk for a range of espresso-based drinks. Whether you’re steaming for a latte, cappuccino, or flat white, the key is controlling both the aeration and emulsification phases and monitoring the milk’s temperature closely.
By following the best practices outlined above and troubleshooting any issues you encounter, you can significantly improve your milk steaming technique, making your coffee drinks more enjoyable and visually appealing.


