

Rocket Appartamento - In Depth Review
Since its release, the Rocket Appartamento has taken the espresso world by storm. Its compact, looks very high end, and the critics say it makes some pretty good espresso for a seemingly attractive price point. Now its my turn to review this wildly popular espresso machine.
Most of you don't know, but I have been a huge fan of Rocket Espresso machines for over a decade. My first big boy machine was the Rocket Giotto V3 with PID, and I still own it today! Rocket knows the customer base quite well. They know people want a high end machine, quality parts, easy to maintain and repair.
My personal Giotto to the left and the Appartamento to the right.

For such a compact machine, it arrives is a very large double walled cardboard box.

Rocket does a nice job for presentation. Many brands include the miscellaneous items by packaging various ways. Rocket decided to have a nice box with all of the accessories related to the machine.


Opening the box they really include quite a few nice accessories. There is a single and double spout portafilter, single and double shot portafilter baskets, a blind back flush basket, a Rocket branded micro fiber cloth, a water hardness test kit, Rocket branded espresso machine cleaning tablets, a group head cleaning brush, cup rack rail, a solid brushed aluminum flat based espresso tamper, Rocket USB drive, and instruction book. WOW there’s quite a bit there. My Giotto also came with similar items when I purchased it years ago, but I am glad to see the cleaning tablets and water hardness test included now. Also included in this box is the drip tray to keep it safe during shipping.

So here’s where Rocket kind of missed the mark with this box of nice accessories. When I opened the box, the cardboard tabs seemed torn up during shipping, and one of the portafilter handles ended up leaving a dent in the drip tray. I wish they would have used some foam or something to separate things. Even if they had rotated the drip tray 180 degrees it would have prevented damage. Previous machines had the accessories come in some formed foam. Rocket should bring that back. Don't fret, Rocket or the company which sold the machine will remedy the dent, so don't worry.

Many machines ship in a micro fiber bag to keep it safe during shipping. Pulling the Appartamento out of the box I had a minor (yet dry) mess. They use these self expanding foam panels to protect the machine during shipment. It appears that one of the foam panels burst and left a minor mess on the micro fiber bag. I was just hoping the machine was good on the inside of the bag.

Phew its fine, nice and shiny. I am a tad disappointed but honestly no harm no foul at this point because the dust cover will never be used and they will fix the dented drip tray.

I have seen countless pictures of this machine. I always thought it looked good in photos but I was not sure if I would like the cutouts in the side of the machine. The machine I received is the copper color, but Rocket does offer it with other colors of side panels. Truthfully this thing looks amazing in person, much better than I had expected.


Reviewing the features from top to bottom. The rail for the cup warming rack is made of plastic, similar to plexi glass. I have seen people complain that the rail is flimsy and cheap. They aren’t kidding. With the slotted cutouts, it makes the rail even more flimsy. It probably isn’t a big deal, and I know they offer after market rails that are made of metal. I think they could have provided better for no additional cost.

I am glad they chose to offer separate valves for the steam and hot water. Some brands will omit the hot water tap to make the machine less expensive. Rocket has always had very fancy looking valve knobs. These large knobs look great and are easy to use. The large R branding on the steam knob looks really sharp!


As long as I can remember, Rocket has included these clipped on "grips" to move the hot steam and water wands. The first thing I do is remove them and throw into a drawer, but if you do not want your fingers potentially burned, you can leave them on.

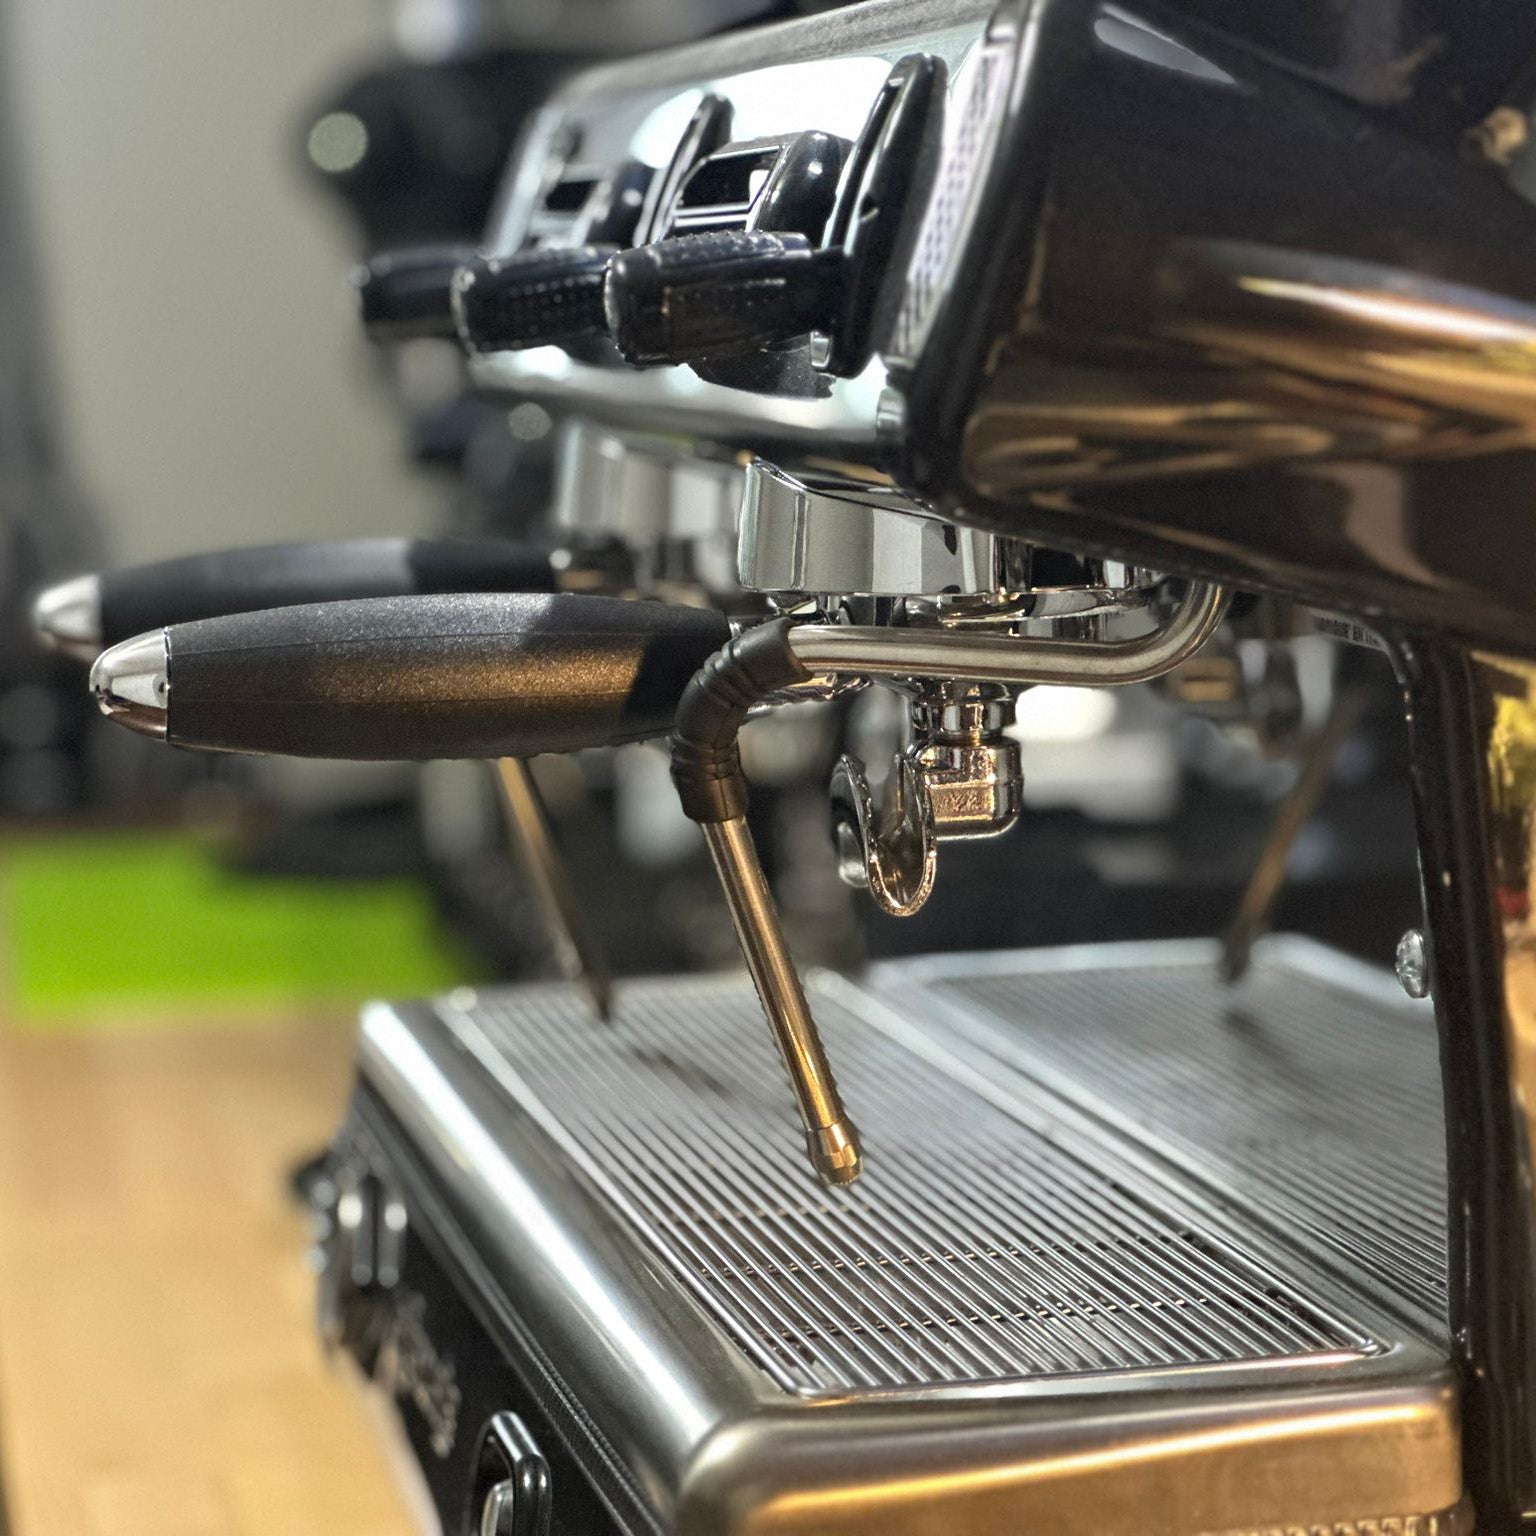
The main feature that makes this machine so great is the E61 group head! I have always thought they looked so amazing in person, and they work amazing too. I have used this style of group head for years and there is nothing better in terms of look, simplicity, and function. Raising the lever operates the 3-way valve, as well as hits a button to turn on the pump. The way the E61 group head is designed, it allows water to siphon through the group head to keep it hot. After brewing a shot when you push the lever down, the 3-way valve relieves any pressure on top of the puck through the bottom of the valve and pushes it into the drip tray.


Pro Tip: If you do not like this sticker, remove ASAP! It will be much easier to remove when the machine is new.

The Appartamento only has one gauge which is kind of a let down. This gauge shows boiler pressure only. It is nice because you can correlate the pressure to temperature, and you can also track your machine as it heats up. I really like having a second gauge for brewing pressure because it provides feedback to the user about how well you dosed and tamped your portafilter. The gauge itself looks extremely good! I was surprised at how large the gauge is, the numbers are large, and there is a green accent to the face of the gauge showing the ideal range that the needle should fall between.

On the other side is the power switch, and power light. When the water tank gets low the light will blink letting you know that the reservoir needs to be filled. Rocket has always provided their machines with very nice badges. This one is no different. Representing Rocket loud and proud!

Rockets drip trays have always been on the small side. They are very nice, look great, but they could and should make them hold a bit more water, especially for a HX machine where you might want to do a cooling flush before brewing your shot.

A nice upgrade from my older Giotto is that they have magnets attached to the drip tray, which allows the tray to lock to the frame of the machine nicely. That is a very good addition!


The Appartamento is designed for the home, and many of us will be placing under a kitchen cabinet. Many machines will fit under the cabinet, but it is usually a snug fit. Rocket takes every opportunity to make this machine as short as possible by making short but yet very prominent feet on the bottom. Most machines feet are maybe an inch or so in diameter. The Appartamento's feet are at least twice as wide, but nice an short. I think it gives the machine a higher end look and a nice foundation to rest on your counter top. If for some reason your Appartamento does not sit level, the feet spin and will raise and lower the feet slightly.

The Appartamento is offered as a water reservoir only machine. You will need to fill the reservoir with water every few days, vs a direct plumbed machine. A water reservoir machine allows you to put the machine anywhere in your kitchen or even other areas of your house or office. No need for a dedicated water supply line. You will however have to fill the tank on occasion. The first time I opened the cover for the water reservoir I was surprised to see this black plastic insert showing the max fill level. It is unnecessary but looks really cool!


The low water indication uses an electrical circuit to know when the tank is low. A word of caution for people using very pure water, sometimes the machine thinks its empty because water that is very pure does not connect the circuit properly.

As I was moving this machine around for photos I accidentally discovered this green button on the bottom of the machine. I went to the instruction book to see what it did. The instruction book is fantastic, but be warned that one book is used for all of their machines. So you might end up weeding through some information that does not pertain to your machine. I eventually discovered that the green button activates "Eco Mode". Eco Mode turns your machine off after 90 minutes from the last shot you brewed. So if you get in a hurry and leave the house, the machine will turn off after 90 minutes of your last brew. That is pretty handy as I have accidently left my machine on before in the past. To "wake up" the machine, simply raise and lower the lever that you use to turn the machine on. This will signal to begin heating the boilers again. If you wish to bypass Eco Mode, you can click the button and it will ignore the timer. Very simple!

I was eager to see how the Appartamento stacked up to the Giotto I had used for years. Filling the tank is easy, and the first time you use the machine you will hear the machines pump run for quite a while as it fills up the boiler for the first time. I prepped an 18g dose and brewed a shot. The water temp seems perfect, the pressure seemed perfect although I did not have a gauge to verify. Overall a success! Extremely easy to use! The shot also tasted great per usual. Zero complaints. I do however give a word of caution on water temp. I give it a cooling flush before brewing to relieve some of the very hot water. If you are brewing more than 2 to 3 shots back to back, you might need to allow the boiler to recover.

Rocket Appartamento Shot.mov from Barrett on Vimeo.

Rocket Appartamento Bottomless Shot.mov from Barrett on Vimeo.
Trying out the steam and water wands, they seem very similar to what I would expect. The steam was not bad, but seemed a tad weak. The Appartamento is a Heat Exchanger machine (HX), so the steam portion of the boiler I am assuming is smaller to save space. All that said you won’t have any issues with steaming a latte or cappuccino. If anything, less steam pressure should be more controllable. I found it difficult to use as I was more accustomed to far more steam pressure. Steaming milk is an art, I know once you get a hang of using the machine you will love it. Milk is cheap, practice! It also comes standard with a two hole tip. I think this is a good start, but if you wish, you could always change to a 3 or 4 hole to steam more quickly.

The Appartamento is a pressure stat machine meaning that it uses the boilers pressure to turn the heating element on and off. Machines have been using this technology for ages, and it is tried and true for functionality. If you need to change your machines temperature you will need to adjust the pressure stat.
My parting thoughts:
Rocket has always been one of my favorite espresso machine brands, and the Appartamento should be a machine that you should be excited about if you are in the market to upgrade to a machine of this caliber. Tons of value and visually pleasing. It will easily become the center piece of your kitchen. It is a more basic machine as compared to some of the larger plumbed dual boiler machines, but lets be real, most people do not need that large of a machine or that much power. Even though I am accustomed to some larger espresso machines, the Appartamento did not disappoint me in the least! Honestly I was surprised how excited I was to use this machine every morning. Its no surprise that it performed so well, but I am very pleased with the form and function. I can see why so many people are choosing this machine.
Espresso Outlet has Priced at approximately $1700, it is a very nice machine for the cost. To me the Rocket brand has always been a symbol of quality. You have two main options for colors, the more common is the "copper" insert, but they also offer white as well.
Who’s this machine for:
- Someone wanting to go next level. A very serious but more basic machine.
- Someone wanting a second machine for an office or a vacation home.
- Someone looking for the capability of a larger machine in a smaller package. Most machines of this size are single boilers.
Pros:
- Its small size fits on almost any countertop. It also easily fits under kitchen cabinets.
- The accessories it comes with are top notch. It even includes a few things such as cleaning tablets and water test strips. The included tamper works very well and is high quality.
- Includes both steam and water wands. Some machines of this size only have steam.
- HX machine allows you to brew a shot and steam simultaneously unlike a single boiler machine.
Cons:
- Only one pressure gauge for the boiler pressure. A second gauge can be nice to provide feedback as you brew your shot.
- Cup rail is flimsy and cheap
- The cup warming rack is fairly small
- Drip tray could be larger
- I recommend a cooling flush before brewing. That can be messy and waste some water from your water reservoir.
Indifferent or noteworthy:
- It uses a vibratory pump which is very common for machines of this size. They can be a bit loud if you aren’t expecting it.
- Tank only machines do need to have their reservoirs filled up fairly regularly. Make sure to use good quality water so that you do not damage your machine.
- It is a smaller HX machine. It is not designed for heavy use but can easily keep up with your families daily espresso needs.
- This machine uses a pressure stat vs the more modern digital control that a PID offers. A PID allows you to adjust the temperature with a digital controller.
What else should you consider looking at for a new setup:
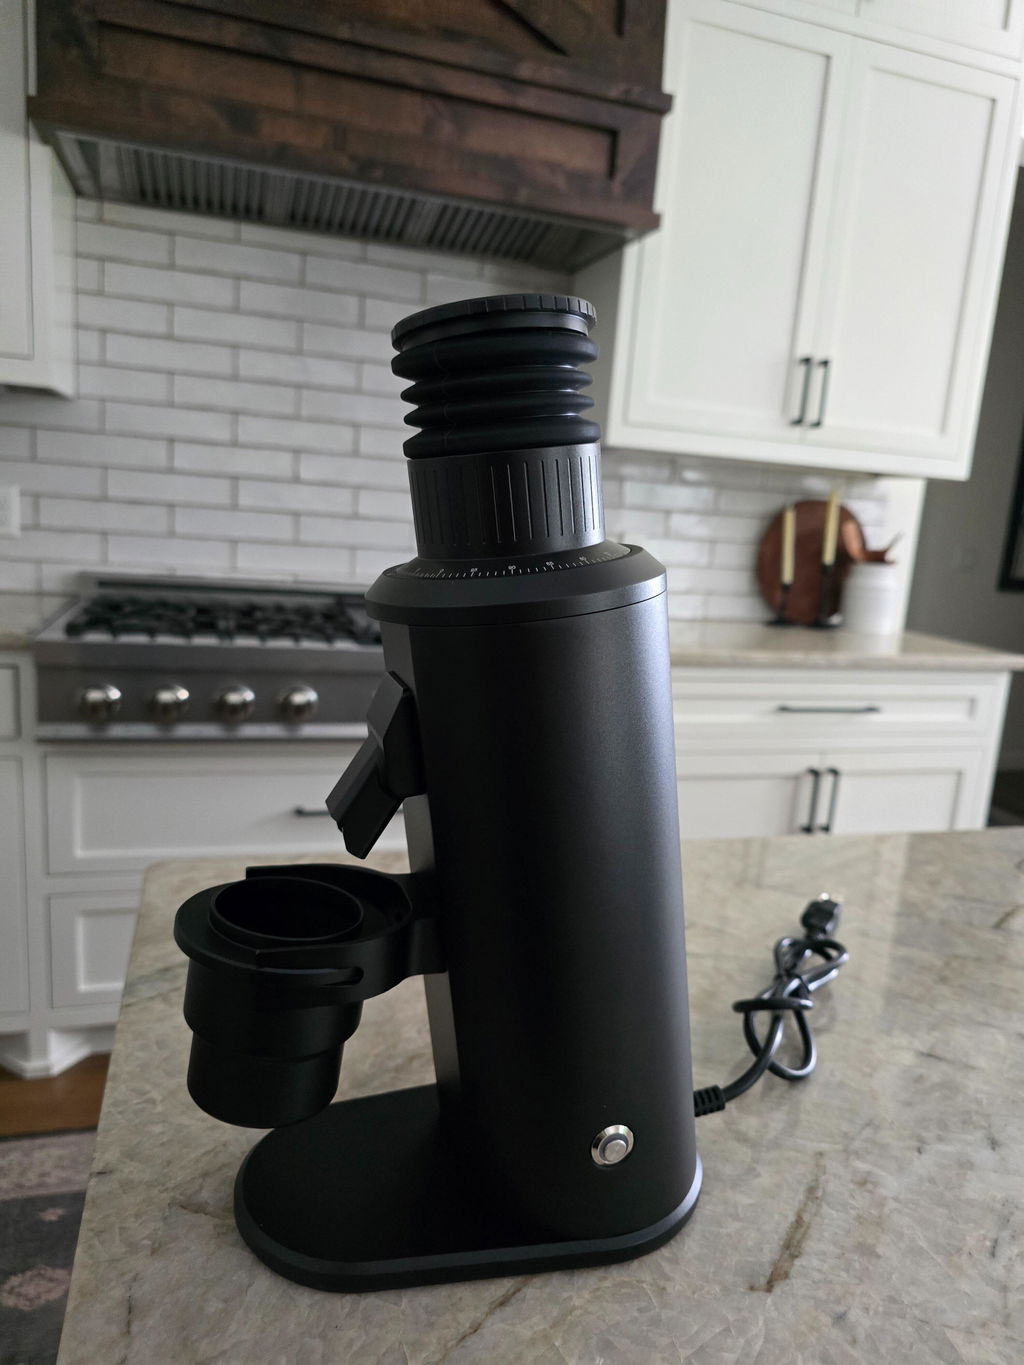
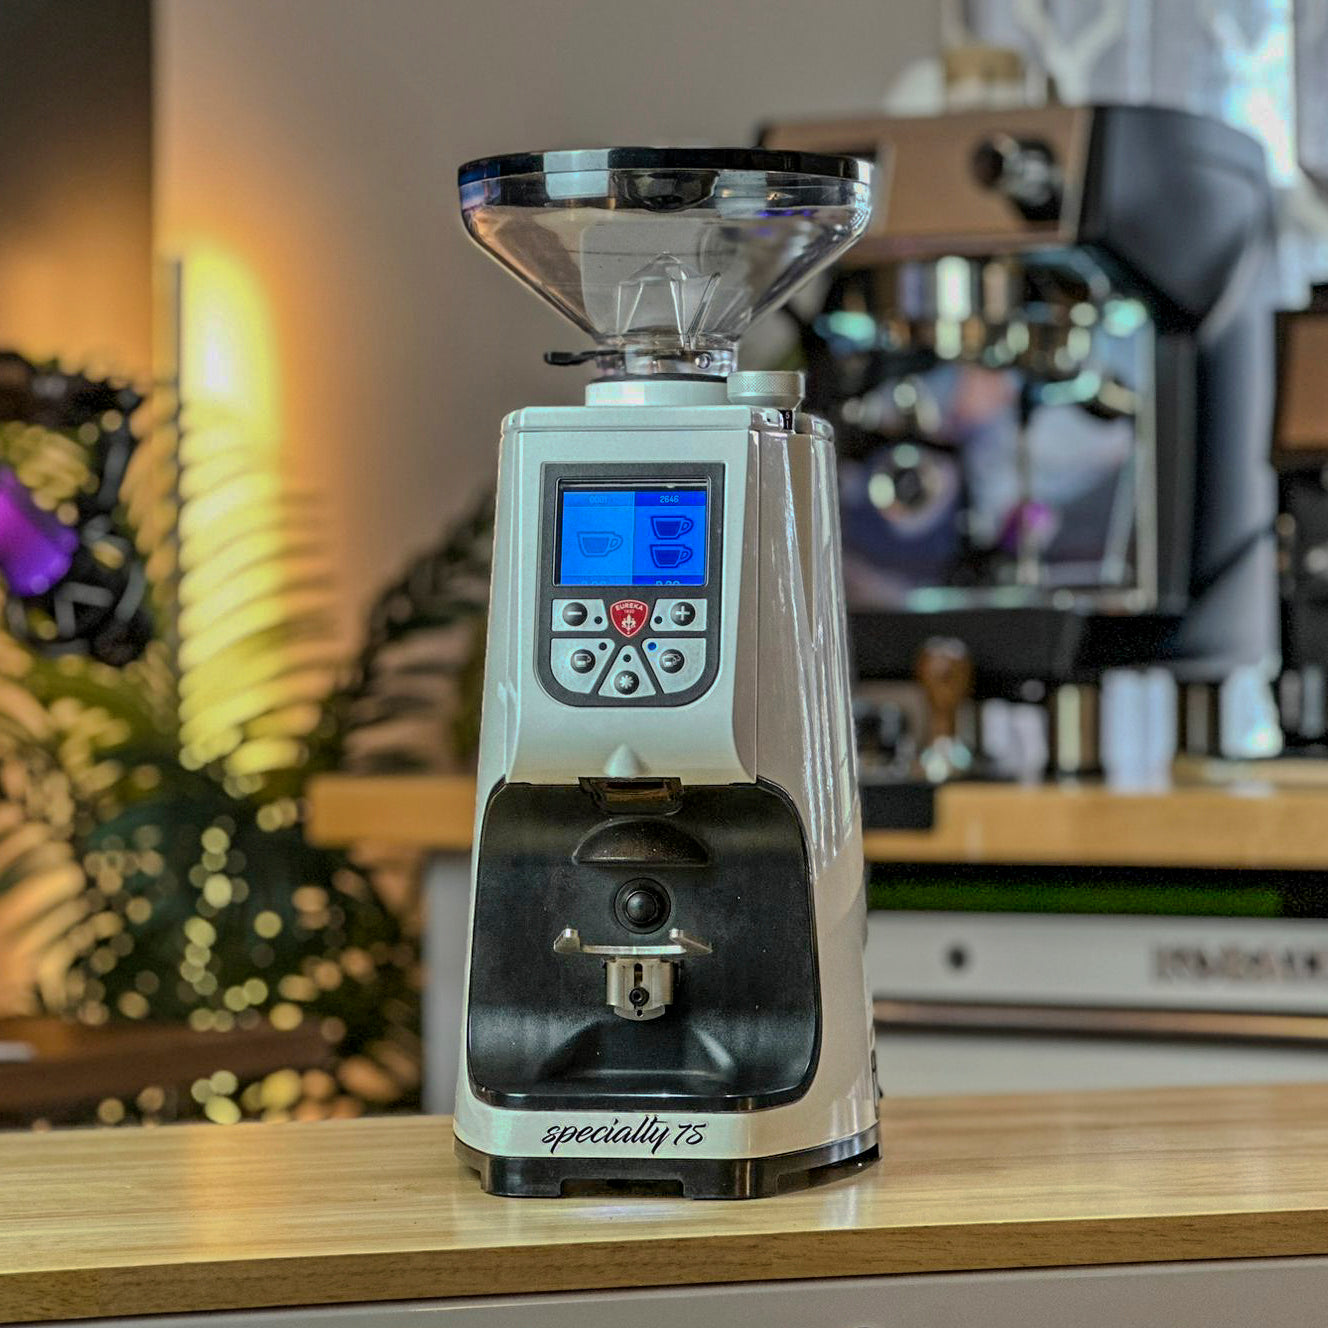
- Make sure to pair this grinder up with a quality espresso grinder. One I think would be great to pair with this machine is the Turin DF64 or the Turin DF64E or DF64P.
- I always enjoy using bottomless portafilters. They can be a bit intimidating at first, but once you learn how to use them, they will force you to improve your shot quality!
- If you are going to get a bottomless portafilter, getting an 18-20g VST basket would be my choice. An IMS basket would also pair nicely but I am partial to VST. I would choose the 18g ridgeless.
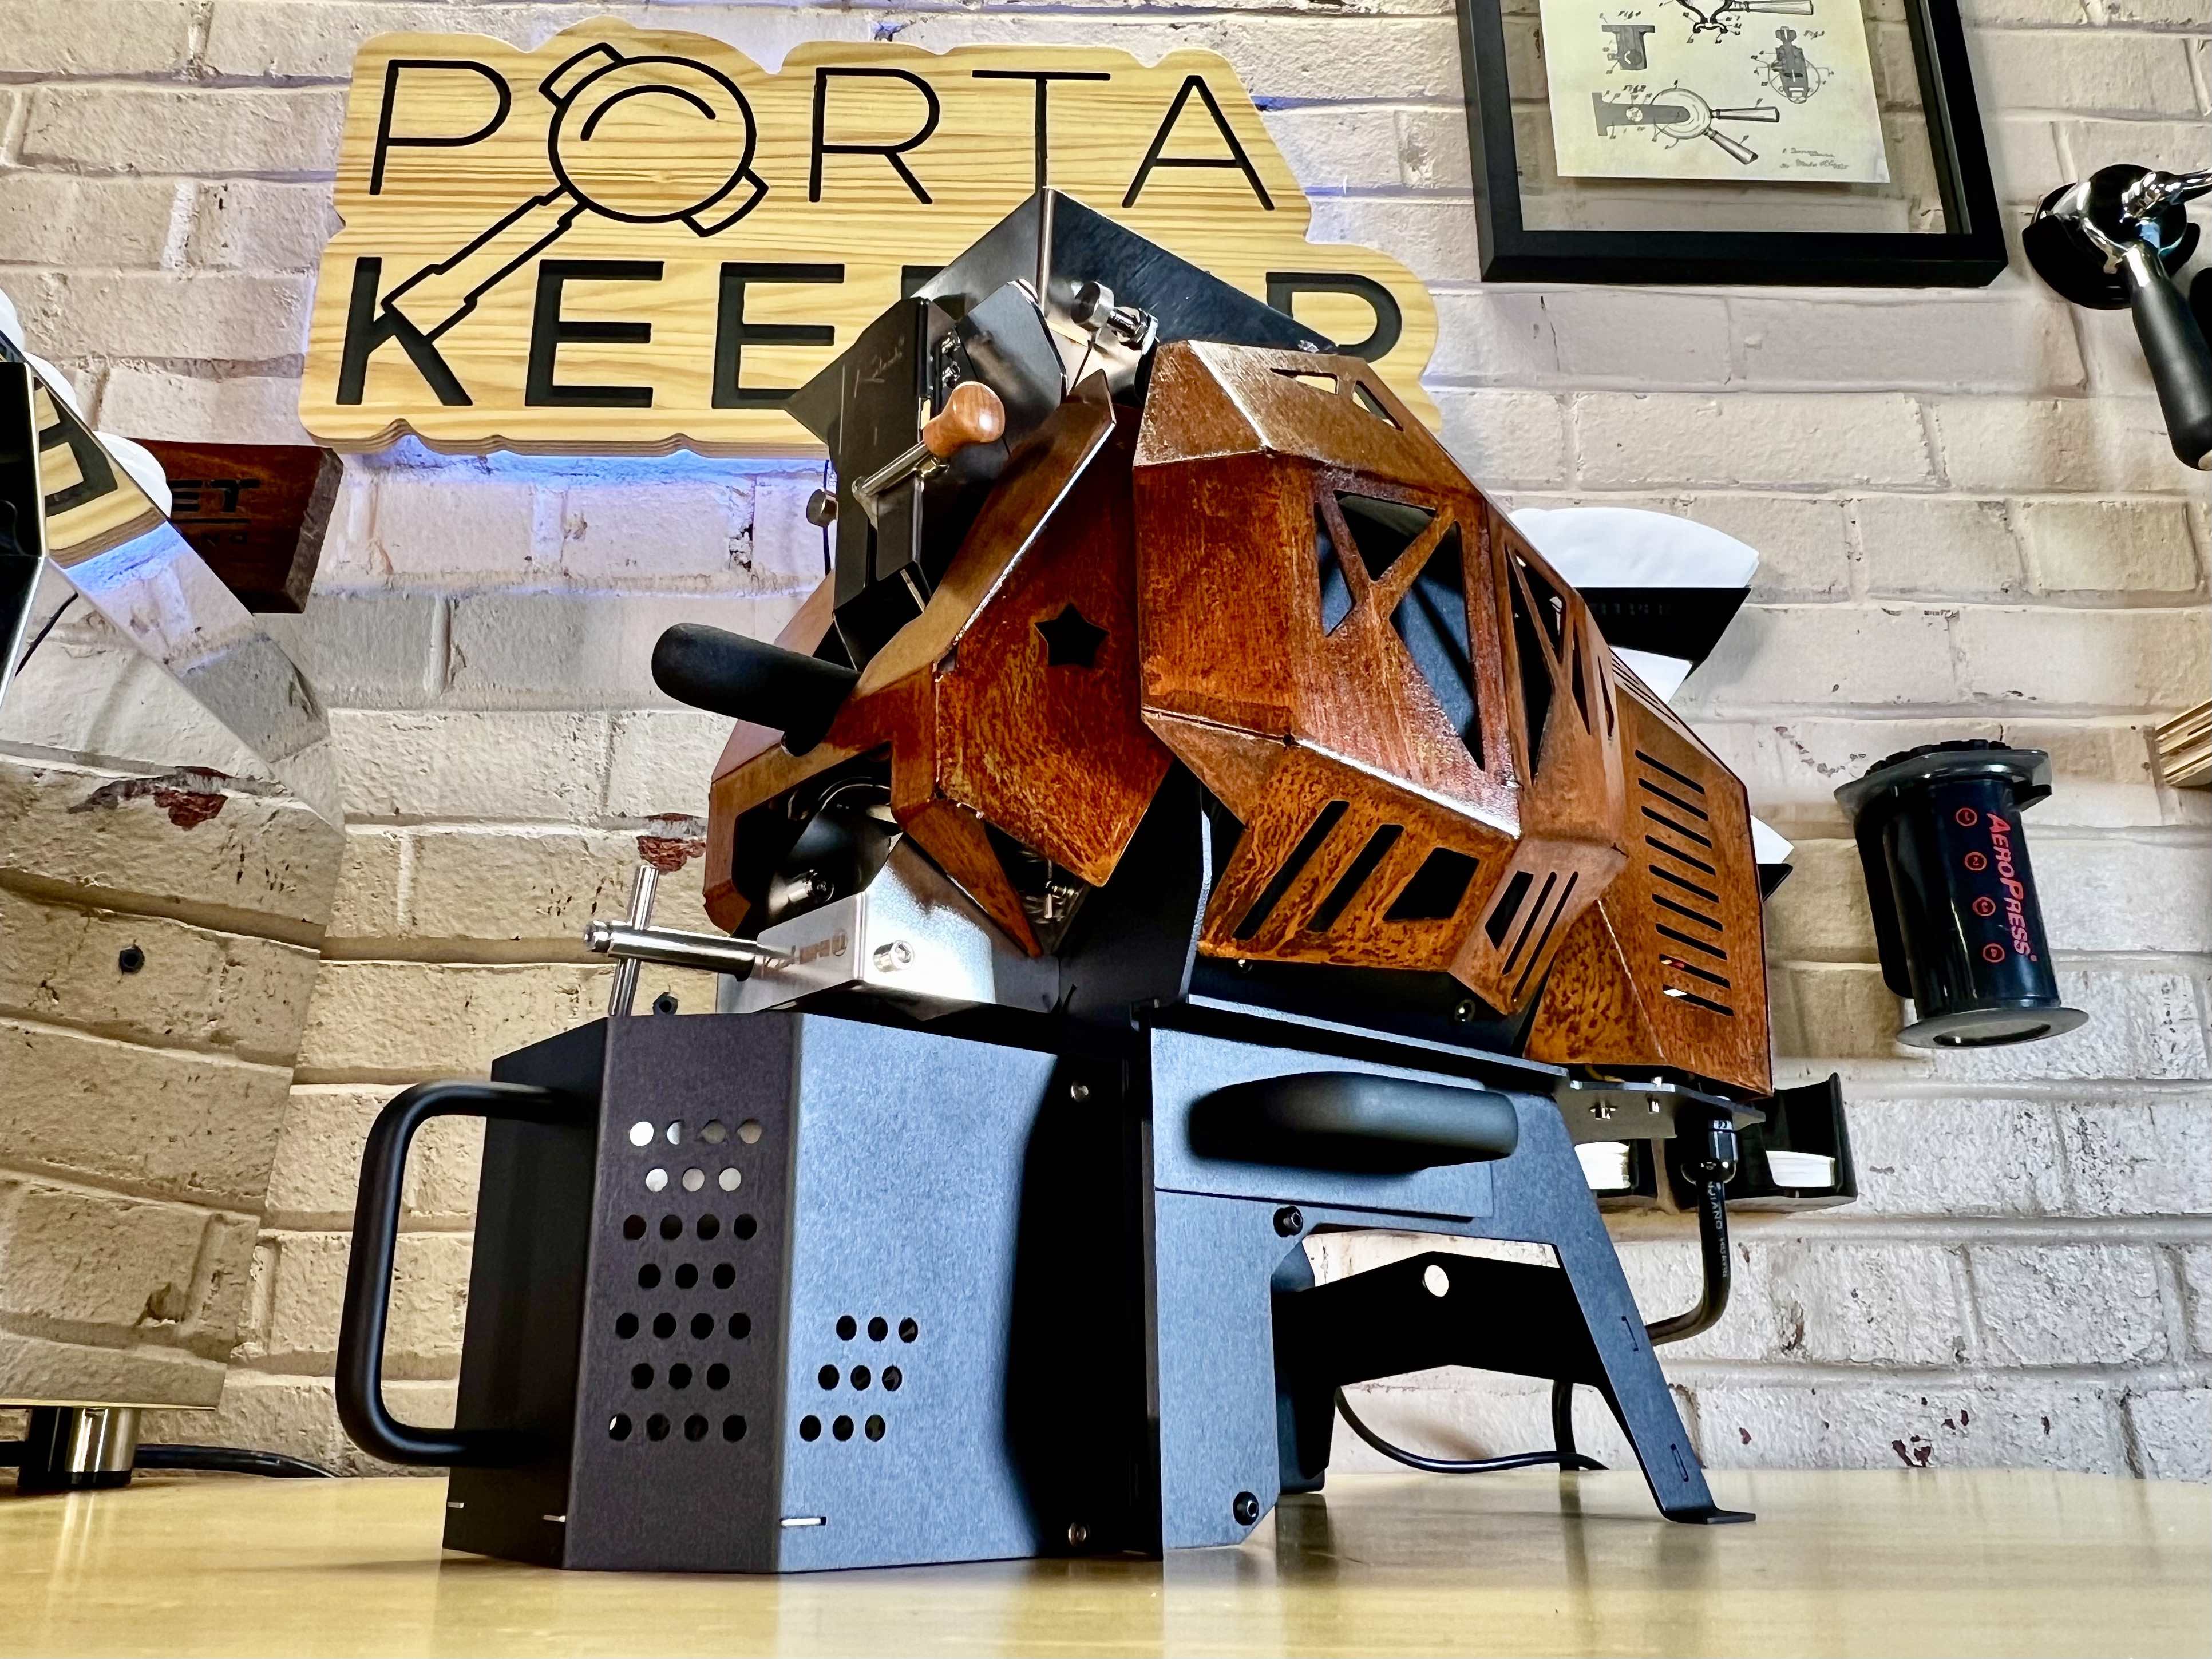
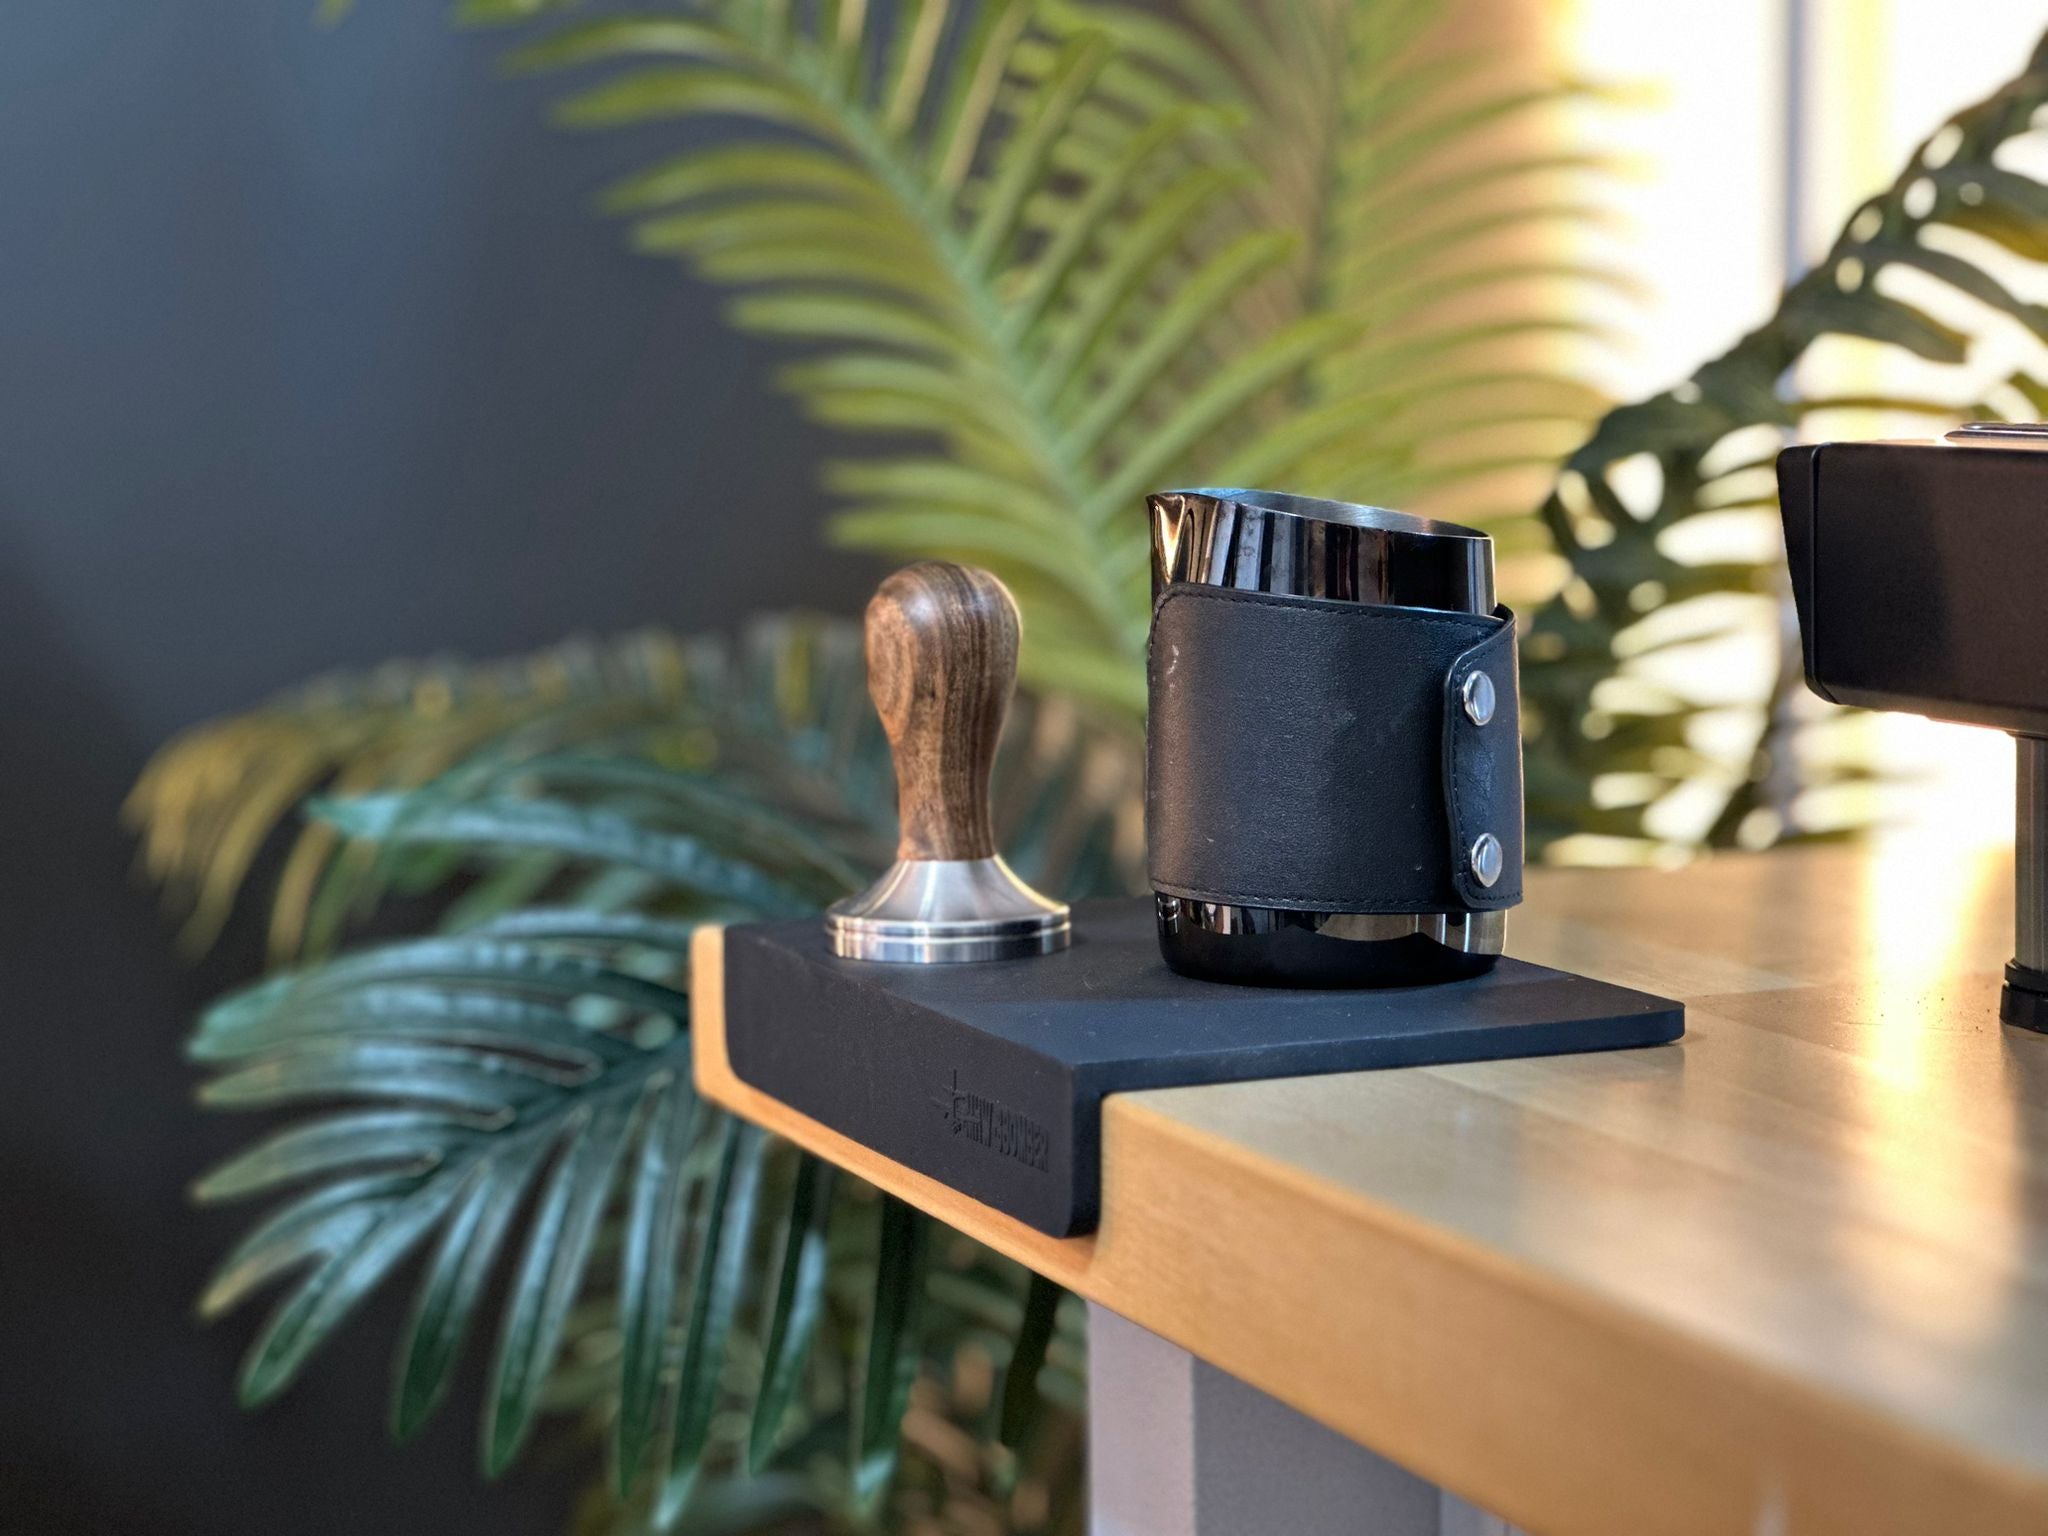
- To store your portafilters or tamper, the PortaKeeper and TamperKeeper works great!
- Rocket offers a milk pitcher, but any quality milk pitcher should work great with this machine.
- A tamping mat. Yeah they can seem like a semi expensive piece of silicone, but they will prevent damage from being done to your counter or your portafilters.
- A knock box to knock your used pucks into. I have used a similar Cafelat one for years
- Micro fiber cloths to keep this polished beauty shining
A quick guide if you want to take a peek under the hood. To remove the top, you need a hex key and Phillips head screw driver. There are two hex screws in the pockets for the drip tray.

Four screws attach the lid to the water reservoir .

Once those six screws are removed, the cover lifts off. You can see there is a second cover under it to prevent small items from accidentally falling into the machine. To remove just slightly loosen the two bolts at the front.

If you ever wanted to change the side panels, its quite easy. Remove these two screws and the metal strips will lift out. The bottoms are wedge shaped and act like a spring pushing out. The panels were removable far easier than I expected.

A look at the copper painted panel.

A side photo with the panel removed.

A top down shot of the machines internals. The machine is very simple although it looks like it has a lot going on. I like the layout. You shouldn't need to do much work on the machine, but if you need to replace the pump or the pressure stat, it looks like it would be a fairly simple task.

A closer look of the boiler. Top center (stainless) is the anti vacuum valve. When the machine heats up you might hear this leak a little bit and then pop slightly. Bottom left (black) is the pressure stat.