Comprehensive Guide to Steaming Great Milk
Steaming milk to perfection is an essential skill for making quality espresso-based drinks like lattes, cappuccinos, flat whites, and macchiatos. While the espresso shot is critical, the texture and temperature of the milk can elevate your coffee from average to exceptional. Steaming milk with an espresso machine involves creating microfoam—tiny air bubbles that result in a creamy, velvety texture—and heating it to the right temperature to enhance the natural sweetness of the milk.
This guide will walk you through the fundamentals, techniques, and scientific principles behind steaming great milk with an espresso machine.
1. Understanding Milk Steaming
Steaming milk is both an art and a science. The goal is to create a smooth, glossy texture with integrated microfoam—tiny bubbles that give the milk its silky mouthfeel. There are two main phases in the milk steaming process:
-
Aeration (Stretching): This is when air is introduced into the milk, creating foam. It usually happens in the first few seconds of steaming, and the key is to control the amount of air that is incorporated to create microfoam rather than large bubbles.
-
Emulsification (Texturing): After incorporating air, the milk needs to be "textured," or heated, to the right temperature while distributing the microfoam evenly throughout. This process results in a creamy, uniform milk texture without bubbles or foam separation.
2. Milk Steaming Essentials
The Right Milk Jug
- Material: Use a stainless steel pitcher. It conducts heat well, allowing you to monitor the milk’s temperature.
- Size: Choose the correct size jug based on the amount of milk you’re steaming. A 12-ounce pitcher is great for a single drink (latte or cappuccino), while a 20-ounce pitcher works well for multiple drinks. Filling the jug halfway allows room for the milk to expand during steaming.
Types of Milk
Different types of milk steam differently because of their fat and protein content:
- Whole Milk: Steams the best because its higher fat content (around 3.25%) provides a rich, creamy texture. The proteins in whole milk create stable microfoam, making it ideal for latte art.
- 2% Milk: Steams well but with less richness than whole milk. It produces a thinner microfoam.
- Skim Milk: While it can achieve a good amount of foam due to its higher protein-to-fat ratio, the texture tends to be lighter and less creamy.
- Plant-Based Milks: Milks like almond, oat, and soy can also be steamed, but their proteins and fats behave differently. Oat milk is often preferred for its ability to mimic the creaminess of whole milk, while almond and soy milks are more prone to separating when overheated.
3. The Science Behind Steaming Milk
When milk is steamed, two main components come into play: proteins and fats. Proteins, especially whey proteins, help create a stable foam by trapping air bubbles, while fats contribute to the milk’s creamy texture. Steaming milk involves:
-
Introducing air (denaturing proteins): When you position the steam wand just below the surface of the milk, the high-pressure steam forces air into the milk, breaking down the protein structure and allowing air to be trapped in tiny bubbles, forming microfoam.
-
Heat and Sweetness: As milk is heated, lactose (milk sugar) dissolves more easily, enhancing its natural sweetness. Milk is best steamed to 150°F–155°F (65°C–68°C). Beyond this point, the milk can scald, leading to a burnt flavor and loss of sweetness.
Scientific studies suggest that overheating milk above 170°F (77°C) breaks down its proteins, causing the foam to destabilize and taste bitter .
4. Step-by-Step Guide to Steaming Milk
Step 1: Fill Your Jug
- Fill the milk pitcher about one-third full. This provides enough space for the milk to expand as it steams.
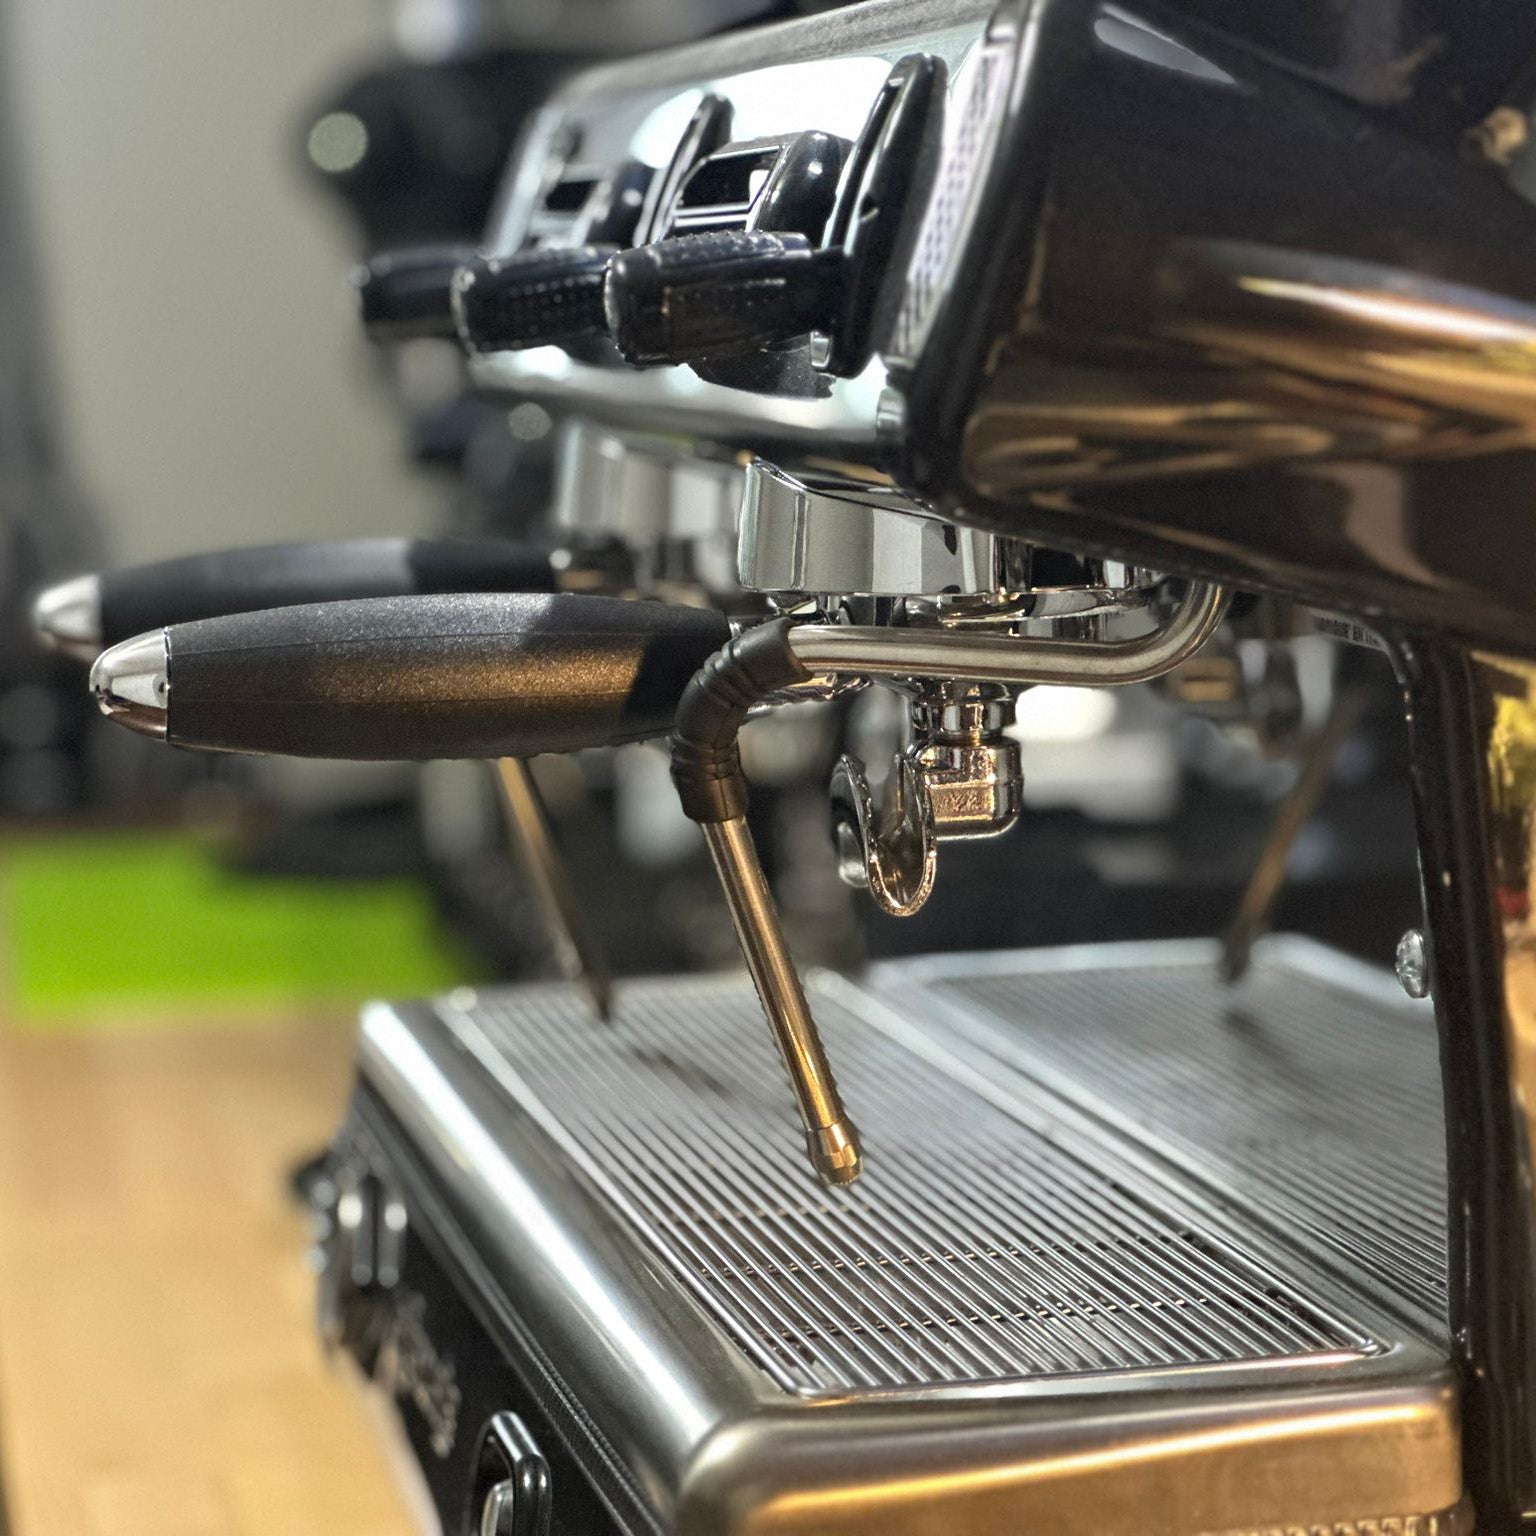
Step 2: Position the Steam Wand
- Insert the steam wand just below the surface of the milk, at a slight angle (about 15–20 degrees), aiming for the jug’s side. This allows the milk to swirl in a vortex, which helps create a uniform texture.
Step 3: Start Steaming (Aeration Phase)
- Turn on the steam wand fully. You should hear a gentle hissing or "sipping" sound as the steam introduces air into the milk. This should last about 3–5 seconds. If you hear loud spluttering, you’re introducing too much air.
- Keep the tip of the steam wand near the surface, slightly breaking it but not letting it sit too deep, as this could prevent air incorporation and cause big bubbles instead of microfoam.
Step 4: Lower the Pitcher (Texturing Phase)
- Once the milk has expanded and air has been introduced, submerge the steam wand deeper into the milk to heat it evenly and emulsify the foam. The vortex created by the angle of the steam wand helps integrate the air bubbles into the milk.
- The milk should now be spinning in a circular motion (the whirlpool effect), which is key to distributing the foam evenly and creating a velvety texture.
Step 5: Monitor Temperature
- Place your hand on the side of the milk pitcher to feel the temperature. If using a thermometer, aim for 150°F–155°F (65°C–68°C). If you don’t have a thermometer, the ideal temperature is when the milk is too hot to touch but not scalding.
- If the jug feels too hot to handle, the milk has likely overheated, and you risk burning the milk and destabilizing the foam.
Step 6: Tap and Swirl
- Once you've reached the desired temperature, turn off the steam wand before removing it from the milk to avoid splattering. Immediately wipe the steam wand with a damp cloth to prevent milk from burning onto it.
- Tap the bottom of the milk jug gently on the countertop to pop any large bubbles that may have formed. Then, swirl the milk to integrate the microfoam, giving it a glossy, uniform appearance.
5. Common Mistakes and How to Fix Them
Mistake 1: Over-foaming
- Problem: Too much air introduced during aeration leads to a stiff, bubbly foam rather than silky microfoam.
- Solution: Ensure the steam wand is just below the surface of the milk, and avoid keeping it at the surface for too long. Only aerate for 3–5 seconds, then submerge the wand deeper to emulsify the foam.
Mistake 2: Milk Too Hot
- Problem: Steaming milk beyond 170°F (77°C) results in a burnt flavor and destabilized foam.
- Solution: Always monitor the temperature with a thermometer or by touch, and aim for 150°F–155°F (65°C–68°C).
Mistake 3: Not Enough Air (No Microfoam)
- Problem: If the steam wand is submerged too deeply from the start, no air is introduced, and you end up with flat, hot milk instead of microfoam.
- Solution: Keep the steam wand just below the surface during the initial phase of steaming to allow enough air to enter the milk.
Mistake 4: Large Bubbles
- Problem: Large bubbles form if too much air is introduced or if the milk is not properly swirled after steaming.
- Solution: Tap the milk jug on the counter and swirl it to break down large bubbles and create a smoother texture.
6. Tips for Latte Art
Steaming milk properly sets the stage for latte art. The glossy, silky microfoam is what allows baristas to create intricate designs on the surface of a latte or cappuccino. To pour latte art:
- Tilt the cup at a slight angle.
- Pour the steamed milk slowly into the center of the espresso.
- As the cup fills, lower the pitcher to the surface and pour faster to push the foam out and create designs like hearts or rosettas.
Latte art requires practice and control over both the milk texture and the pouring technique, but it all starts with perfectly steamed milk.
7. The Impact of Milk Steaming on Flavor
Steaming milk enhances its natural sweetness. This happens because lactose, the sugar found in milk, dissolves more readily at higher temperatures, creating a sweeter taste. Properly steamed milk, combined with espresso, creates a balanced drink where the sweetness of the milk complements the espresso's bitterness.
The combination of correctly textured milk and espresso can significantly affect a customer’s experience, making it a crucial skill for professional baristas.
Conclusion
Steaming milk to perfection with an espresso machine is both an art and a science. Understanding the role of proteins, fats, and lactose, along with mastering techniques like aeration and emulsification, will help you produce smooth, velvety microfoam that enhances any espresso-based drink. With practice and attention to detail, you’ll be able to create perfectly steamed milk every time, whether you’re aiming for a rich cappuccino or a silky flat white.


